Your company has made an investment to introduce in-plant training to your production floor team. Where exactly do you start so that you get the most out of your training program?
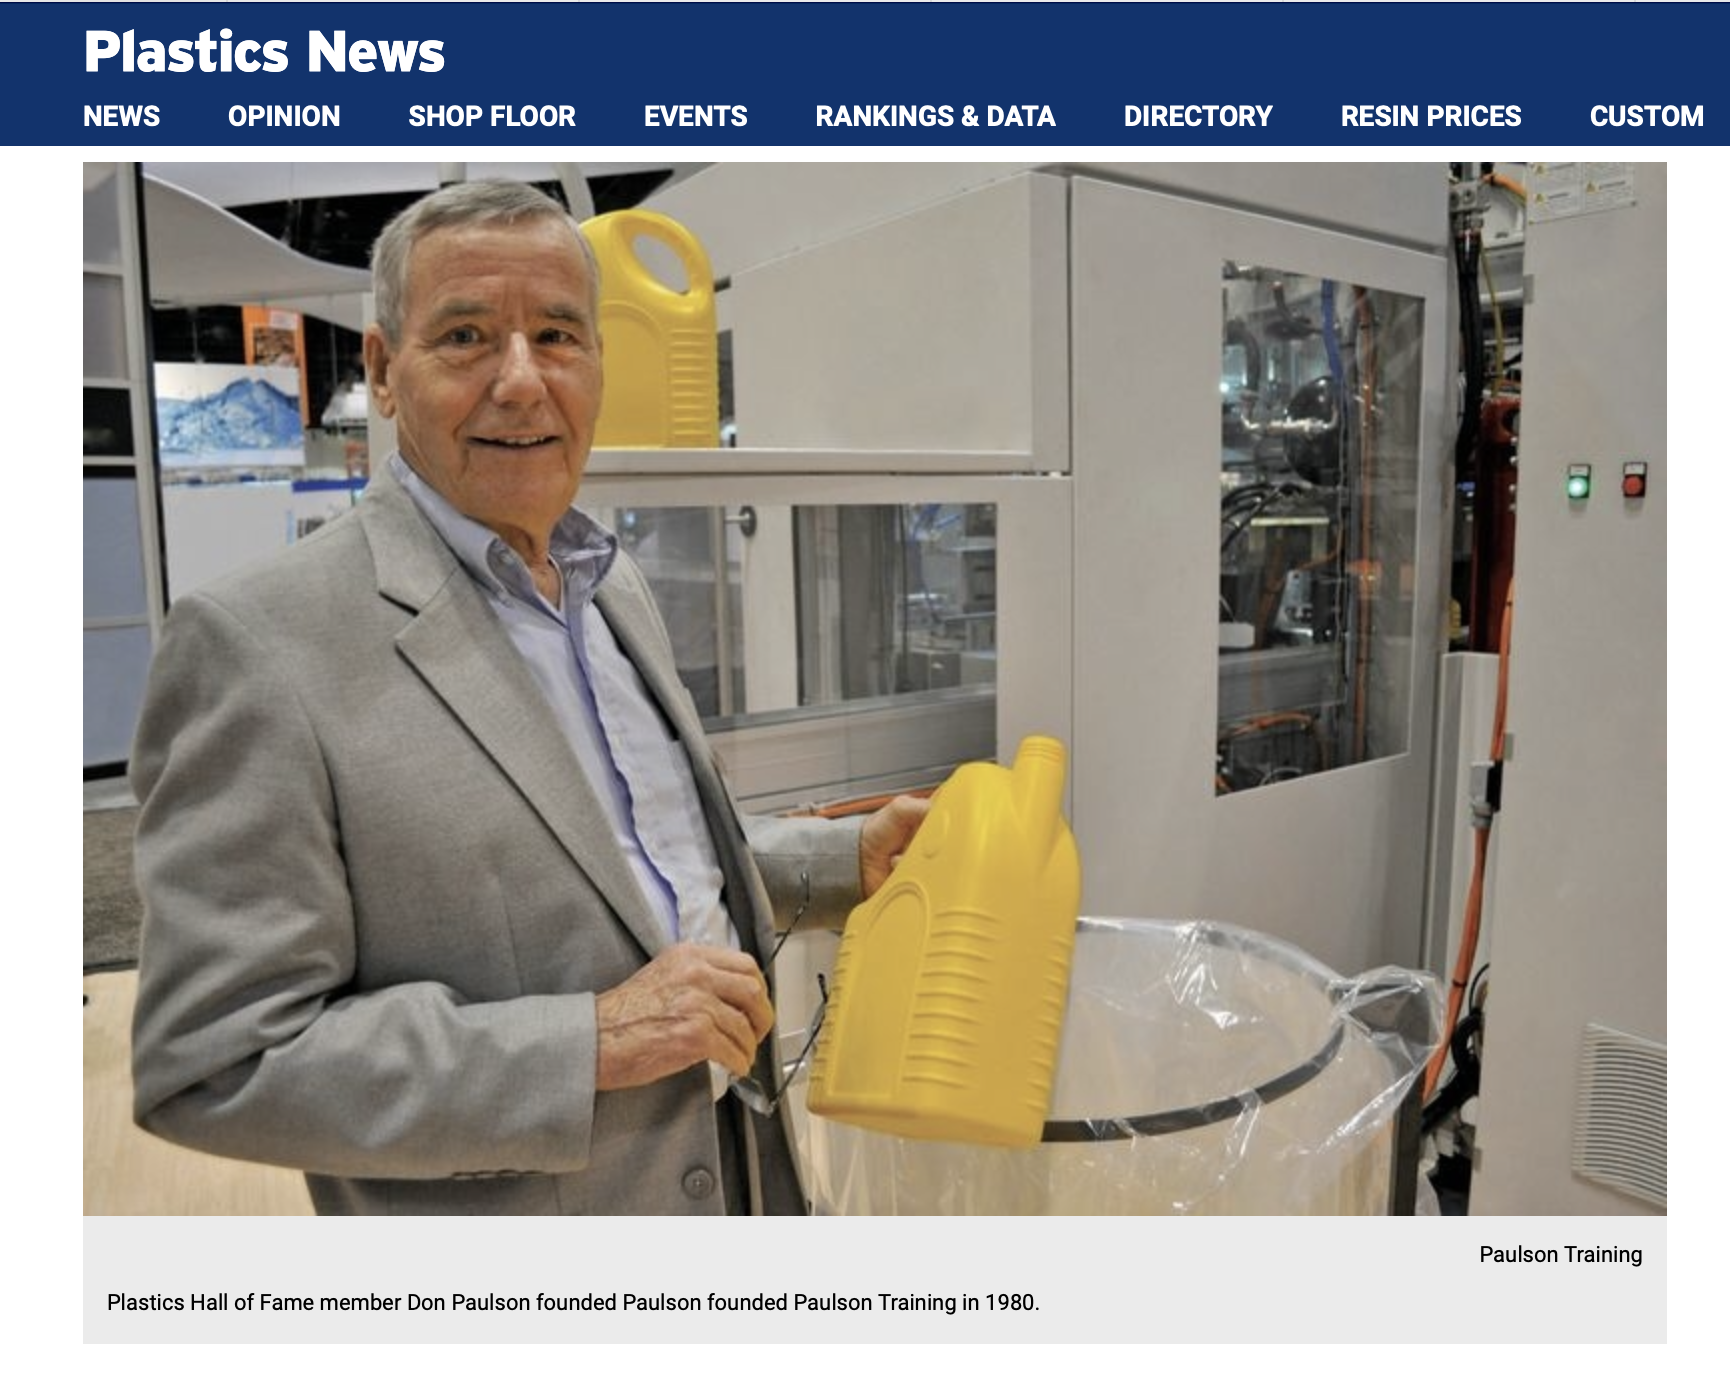
With over 35 years of experience and over 50,000 plastics industry professionals trained, Paulson Training has more than a little experience with this particular issue.
A haphazard approach to your training program will yield sub-optimal results. While a structured, organized approach will help you get the most out of your training investment.
There is a reason that pilots use checklists. You don’t want the folks up front missing a crucial step before take-off. Likewise, Scientific Molding demands a rigorous systematic approach to injection molding that documents everything and makes the molding process repeatable.
So, that said, here is the first part of getting your Paulson interactive training program up and running successfully.
Injection Molding Training Checklist
Preliminary Steps
- Assign a Training Supervisor – This person will be tasked with overall implementation of the training
- Notify all participating employees that the training will be starting, Explain what it is, why the company is doing it, how the employees and the company as a whole will benefit.
- Voluntary vs. Mandatory – This is a judgement call that needs to be made by management. Our experience is that starting with a voluntary approach is best. Why? People don’t like to be told what to do. And in the case of training, the word will get out very quickly that the training is fun, educational and somewhat addicting. Personnel who may at first be reluctant will be swept up in the tide. We’ve seen this over and over.
- Post a training schedule. How much training? We recommend one lesson per week, two at the most. Some employees will want to go faster. That’s good, but study after study has shown that learning, then applying new knowledge, is the key to effecting lasting change. Explain that to anyone that wants to do a lesson a day (and you will have a few people like that). We strongly suggest enforcing this particular step.
- Prepare a designated area where your Paulson injection molding training will take place. This should be a place that is quiet and free from outside distractions. Strongly Recommended: DO NOT let trainees be interrupted while they are taking their weekly training lesson. Every company can run (or should be able to run) without and one employees for 60 to 90 minutes. If yours can’t, you should address that bigger issue.
- Document the Pre-Training State of the Production Floor status. This will serve as a benchmark by which you can measure improvements. Some suggested metrics are downtime, mold change times, production output, cycle times, scrape or reject rates, etc. After a few months of training, you’ll take these numbers and measure them against your new numbers to see where the training is having an impact and where you may need to address how to fine-tune your training program (we’ll help you with this).
In our next Blog post, we will add the Conducting On-Going Molding Training section of our training checklist.